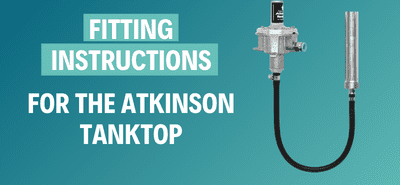
‘How To’ replace a broken handwheel on a Tankmaster
In this manual, we are going to go through the process of replacing a broken handwheel thread.
This will typically occur when the TankMaster has been left exposed to the elements over a long period of time with the handwheel in the full lock position without regular use.
If the handwheel thread has broken away from the handwheel it will force the valve head to stay in the open position. This will prevent you from isolating the fuel supply.

This image is to provide a little more insight into the construction of the hand wheel. As you can see, the handwheel on the left is new and undamaged. The handwheel on the right is missing the thread and solder.
The thread and solder has broken away from the wheel. Leaving the thread and solder inside the union and valve of the TankMaster.
.
The first step to removing the handwheel is to remove the E-circlip on the end of the stem. The circlip may be a little hard to remove but using an object such as a flat-head screw driver should make light work of it.
At this point you should be able remove the wheel from the handwheel by gently pulling it away from the body. If you are still experiencing a degree of resistance, you may need to pull harder as there is a chance that the solder hasn’t broken away and this is what is holding the wheel to the thread.
Once the handwheel has been removed, you should see the handwheel thread inside of the union and valve (highlighted in red). You will need to remove this but there is no need for concern with regards to compromising the valve as this is not a wetted component.
To remove, you can use pliers to turn the left handed thread, clockwise. If the thread has broken off flush to the union and valve then you may have to try a hammer and chisel to gently tap the thread clockwise, to try and loosen the thread. Lubricant can also be applied to assist removal.

Once the thread has successfully been removed from the union and valve, you should be left with what you see in picture 5.
Check the internal threads for any damage caused by the removal of the handwheel thread. If there is none, proceed.
Apply a small amount of copper grease to the internal threads.
Screw the new hand wheel into the union and valve (anti-clockwise). The handwheel should meet a natural stop, at this point you should turn the handwheel half a turn clockwise to relieve pressure against the threads and ultimately prevent this from happening again.
Lastly, re-apply the E-circlip to the stem of the TankMaster. If you have any issues completing any one of these steps, please feel free to contact us via the contact details at the top of the page!